
Every Heart Piece, every Skulltula, checked on the remake
Find any collectible in seconds, tick what you have, and see what you can grab right now. Everything that changed since the N64 is flagged.
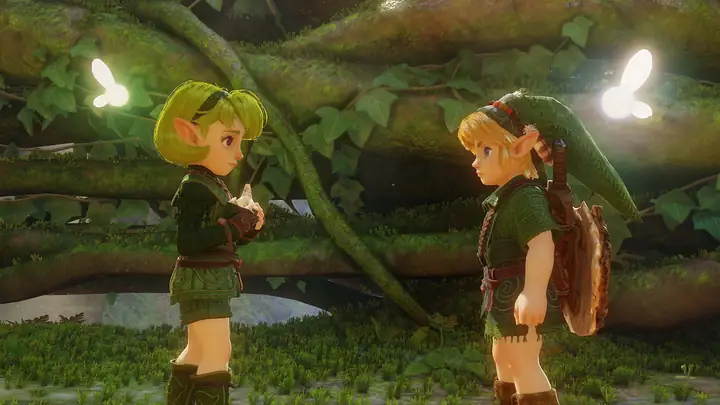 Kokiri Forest3
On the back wall of the Know-It-All Brothers’ house, the house built into a huge trunk at the south-west edge of the village.
Small patch of soft soil behind the Kokiri Shop, on the stream side.
High on the trunk above the back of the House of the Twins, the south-east house of the village.
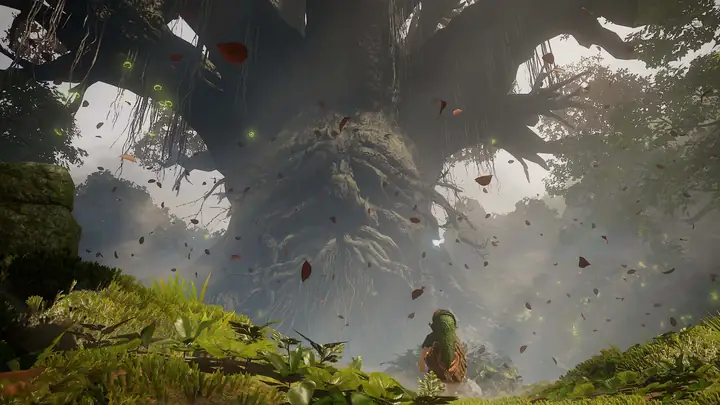 Great Deku Tree4
3F, the Compass room: the small alcove off the platforms, on its wall.
B1, the big basement room: on the vines that lead back up to 1F.
B1, north-west room with the Gohma Larvae: the passage hidden behind the web, on the vine wall.
 Hyrule Field3
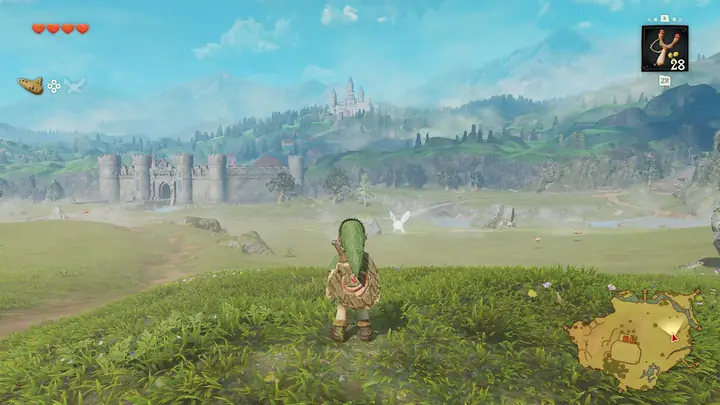
Thin lone tree where the stream ends, a short walk west of the Kokiri Forest entrance (east side of the field).
Patch of woods at the foot of the southern cliffs, between Lon Lon Ranch and the road to Lake Hylia.

Marshy pond in the south-east of the field, south-east of Lon Lon Ranch.
 Hyrule Castle Town1
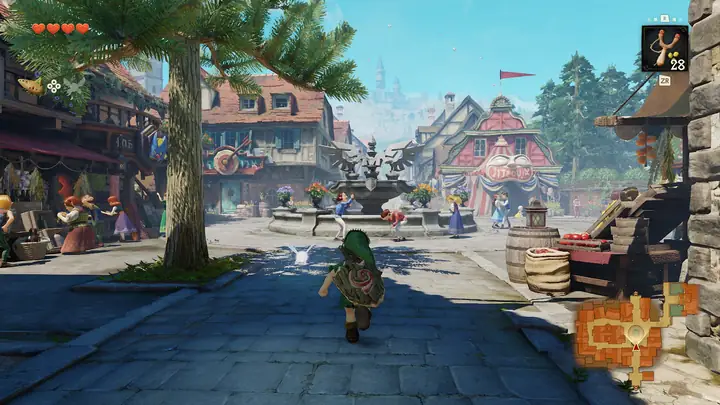
Guard house storeroom at the town entrance, back of the room, right-hand side.
 Hyrule Castle2
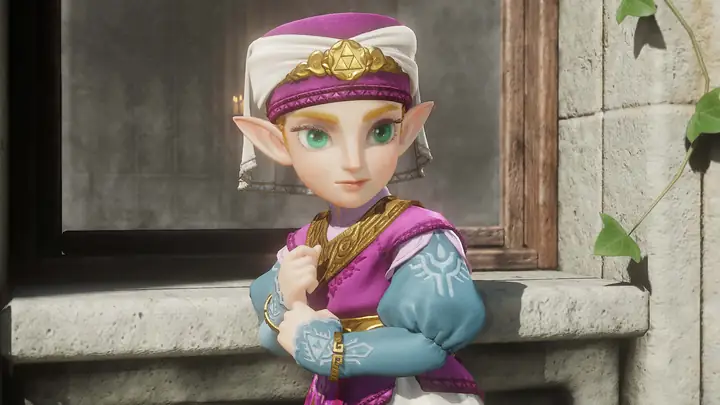
Castle grounds, right of the vine wall that climbs toward the moat, next to the building and the hedges.
Tall tree in the corner by the iron fence, where Talon was asleep, facing the town.
 Lon Lon Ranch3
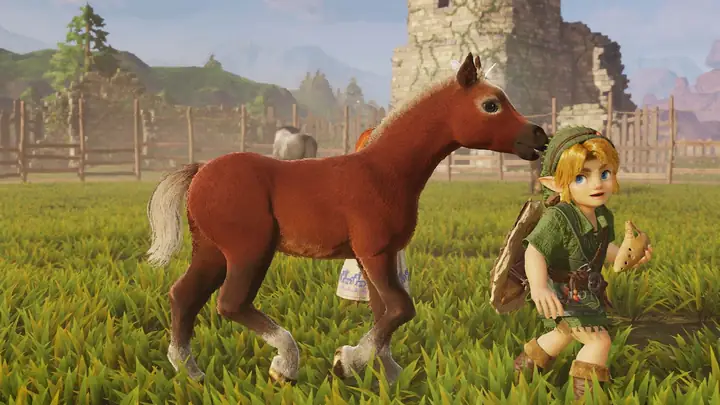
Small tree on the path behind the building with the Super Cucco game, in front of a tall silo/tower by the stone wall.
High on the wooden wall of the ranch house, by an upper window next to the entrance arch.
Ruined stone tower/storeroom in a corner of the ranch, at the edge of the racetrack (the building with crates and a Piece of Heart).
 Kakariko Village6
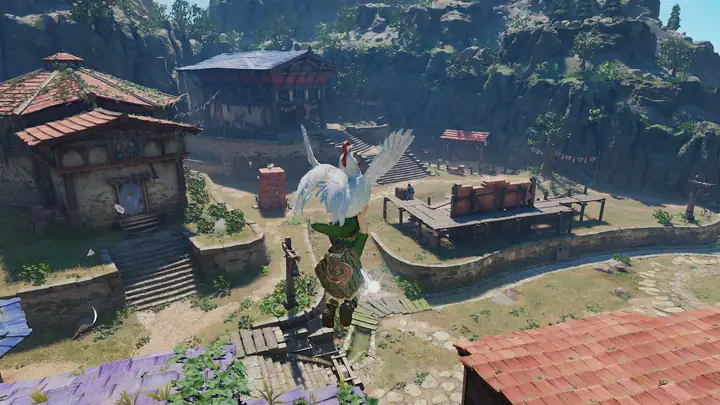
Lone tall tree near the village entrance, beside the craftsman’s son sitting in the square.
On the wall just left of the blue door of the House of Skulltula.
Red brick wall of the house under construction, near the middle of the village.
Near the top of the ladder of the wooden watchtower, on the way to the Death Mountain gate.
Outer wall (under the eaves, by a red door) of the north-west house next to the Death Mountain gate.
Wall/cliff above the blue-tiled roof of Impa’s house, in the south-west of the village.
Graveyard2
Patch of soft soil against the north-west wall: from the entrance go left toward the north wall.
Lost Woods3
In the clearing two screens left of the entrance, beyond the stump where a Skull Kid plays; the path ends at a Business Scrub.
Clearing with two Business Scrubs (it also hides the Forest Stage grotto); soft soil by the big tree.
High rock ledge above the Business Scrub clearing (right, left, right, left, left).
Sacred Grove1
High on the east rock wall of the maze, just before the big stairway to the Forest Temple.
Death Mountain Trail4
In front of the entrance to Dodongo’s Cavern.
Lower trail, just past the first bend after the Kakariko gate, on the right.
Upper trail, in the stretch where rocks rained down on young Link, below the summit and the climbable wall.
Next to the Goron City entrance, where a lone Bomb Flower used to stand.
 Goron City2
Room full of boulders reached from the upper left (west) of the top floor, past the chests.
Underside of the hanging central rock platform the rope bridges lead to.
 Dodongo Cavern5
1F, corridor east of the main hall (where Baby Dodongos appear): small room behind the cracked wall near the end.
West staircase room, top level: on the climbing net at the back of the stairs.
2F, room north-east of the giant skull with two Dodongos, behind the central rock.
Inside the giant skull, block-pushing room: small room behind the cracked wall at its north end.
1F, same corridor as the cracked-wall token: high ledge on the north wall.
Zora River4
Patch of soft soil next to the Magic Bean seller, near the river entrance.
On the rock under an overhang by the water, at the bottom of the area just before the waterfall into Zora’s Domain.
Wall beside the tall rock ledge in the middle of the river, near the Gossip Stone and grottos, before the last bridge.
High on the west cliff just before the path up to Zora’s Domain.
Zora Domain1
Wall/pillar to the left of the top of the frozen waterfall, near the stairs to the throne room.
 Lake Hylia5
In front of the barrels and sacks against the west wall of the Lakeside Laboratory.
Small grotto at the end of a crawl tunnel on the south-west shore.
Bottom of the water tank inside the Lakeside Laboratory, crate on the right.
Big tree on the island above the Water Temple, near the warp pad.
Zora Fountain3
Lone tree in the shallow south-east corner, near the silver boulders, south-east of Lord Jabu-Jabu.
Rock wall at the top of the slanted ruin, south-west of Lord Jabu-Jabu.
Above the cave exit overlooking the fountain; the entrance rock is near the Great Fairy Fountain.
Lord Jabu-Jabu's Belly4
B1, Dungeon Map room: west wall vines, opposite the map chest.
Last room before the boss: vines on the tall pillar, south-east side, high above the floor.
 Forest Temple5
Entrance room (Wolfos fight), east wall, near the top of the vines.
Central room with the four torches: high on the north-east wall, next to the north door.
Balcony above the north-west courtyard, on the wall by the south ledge.
North-east courtyard (with the stream): ledge above the north-east door.
B2, room in front of the boss door: small south side room (green pots), west wall.
Death Mountain Crater2
Just inside the crater from the summit, next to a pot.
Beside the warp platform on the crater floor, near the Fire Temple entrance.
 Fire Temple5
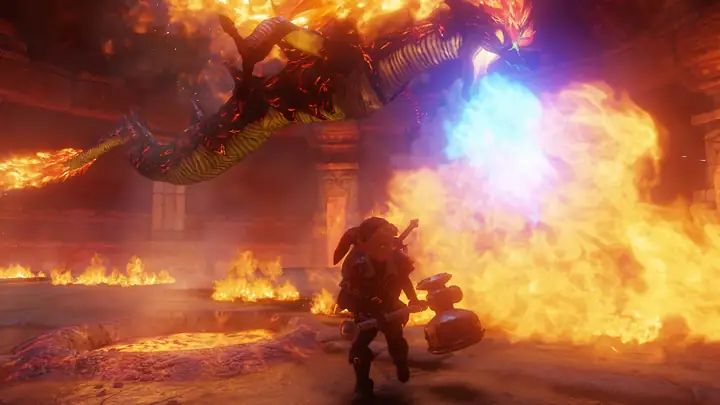
1F, room above the Song of Time block, north-east of the big lava room: back wall.
3F, boulder maze: behind the cracked north-east wall.
Goron Tunic Above the boulder maze: hidden room at the top of the climbing nets (4F–5F), on the wall to your left.
5F, round room above the lava pit, next to the hidden room: inner wall.
1F, room just north of the entrance hall, between the round room (north-west) and the large lava room (east): back wall.
Ice Cavern3
Central room with the spinning blades: high on the south wall.
East room (end of the eastern corridor, Compass chest): high on the wall, behind the ice pillar near the chest.
West sliding block room: on the east wall near the entrance (VGC: on the ceiling).
 Water Temple5
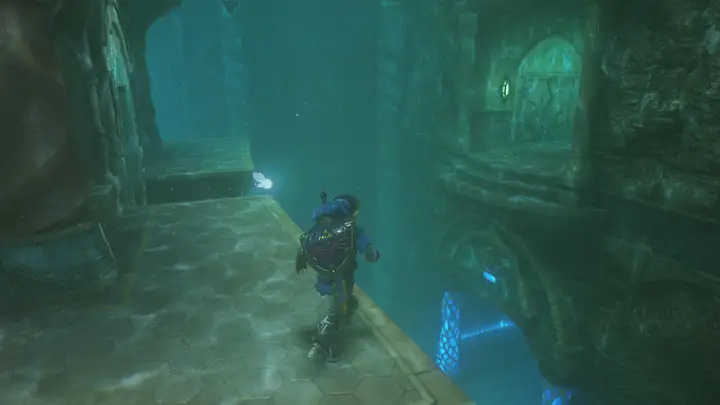
B1, under the central pillar: room just east of the central axis, behind a grate.
East side, 2F: behind the cracked wall above the blue-pillar room, on a stained-glass window.
Whirlpool river after Dark Link’s room: on the rock above the second whirlpool.
Inside the central pillar, 3F: near the ceiling, north wall.
Rolling boulder room on the way to the Boss Key: behind the small waterfall.
Bottom of the Well3
North-east of the outer ring: room with the Like Like, back wall.
Central area, locked east room: wall at the end of the invisible walkway.
Central area, locked west room: back wall.
Shadow Temple5
B3, far south-east: small room opened behind the invisible scythe room.
B3, south: falling spikes room, high on the wall, up to the left from the top of the spikes.
B3, north fan corridors: wall below the gap you hook across.
B4, boat dock: on top of the cage, wall behind Pierre.
B4, room west of the invisible-wall maze: wall behind the three skull pots.
Gerudo Valley4
Rock wall under the first wooden bridge/ramp as you enter the valley.
Riverside ledge below the main bridge with a cow and a Gerudo.
Wall of the ruined building just behind the carpenters’ tent.
Inside the rock arch among the dark boulders near the tent.
 Gerudo Fortress2
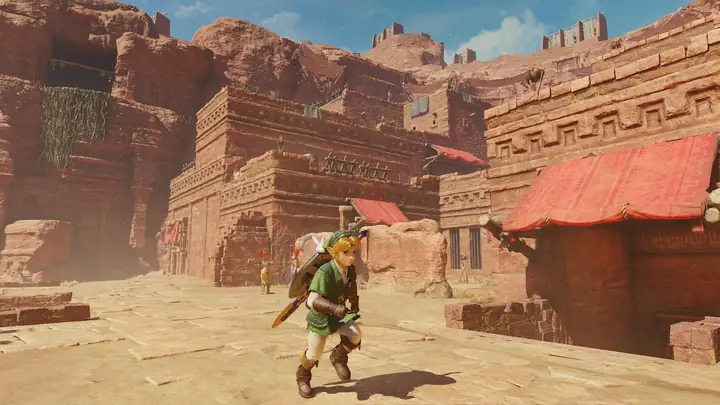
High on a tower wall on the east side of the fortress roofs.
Back of the raised target at the north-east end of the range.
Mirage Desert1
Wall above the torches in the red-lit room under the halfway shelter.
Evil Desert Colossus3
Corner by the temple wall, left of the Spirit Temple entrance.
Flat rock plateau across the sand, north-east of the temple entrance.
High rock wall in the north-west corner, right of the temple entrance where birds (Guays) circle.
Spirit Temple5
1F, child side: room beyond the first cleared room, on the mesh wall.
2F, giant statue room: north-east corner next to the statue.
3F, stair corridor before the Iron Knuckle: above the entry door.
1F, east side: half-pipe room with rolling boulders, alcove on the left near the exit.
3F, giant statue room: niche high on the upper west (top-left of the statue).
Ganondorf's Castle grounds1
High on the back of the broken stone arch on the road to the castle.
Nothing matches these filters.
Visuals: Nintendo (official game page). Unofficial fan tool.
Warp Pipes is free and ad-free. Support it → · A mistake on this page? Report it